Create Windows 11/10 Bootable USB on Mac for PC
macOS offers an inbuilt tool—Boot Camp Assistant— which not only allows installing Windows on the MacBook but also create Windows 11/10 installer. We will use the same tool to create one and use it to repair the Windows 10 computers. The procedure involved is: You will need a USB drive of at least 8 GB storage space. You can always right-click on the drive after connecting to any computer, and check the properties to find out the size of the drive.
1] Download Windows ISO
The best part of downloading ISO is that you don’t have to play any trick. When you use Windows to download the ISO, you need to trick it. On macOS and Safari, Microsoft offers a direct download link once you choose the version.
Go to Windows ISO download section on Microsoft websiteSelect Windows, and then select the versionIt will download the ISO file, which should be around 5 GB.
2] Create installer with Boot Camp Assistant
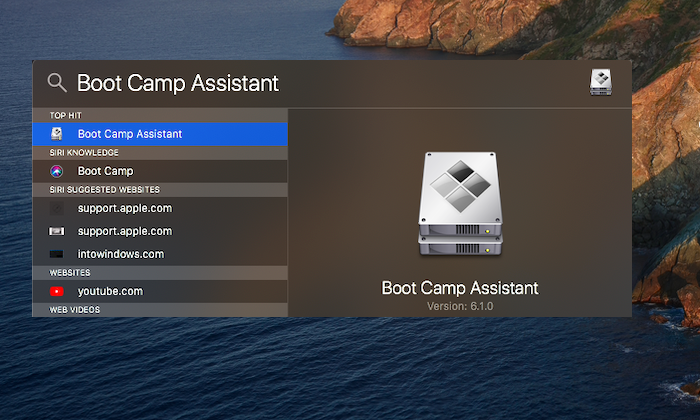
Plug in the USB drive to the MacBook port. All the data in the USB drive will be lost in this process. So, make sure to take a backup if there is any file inside it. Then launch Spotlight search by pressing the command key and the spacebar. Type boot camp assistant, and when it appears, press enter to start the app. Click on the Continue button, and then it might do some housekeeping to make space for the second OS. It took around 20 minutes.
Next, check the box which says, “Create a Windows 10 or later version of install disk.” Deselect if there is n option to install Windows. When you click next, Boot Camp Assistant will automatically locate the ISO file if it is in your Downloads folder. If not, you can always browse and point it to the right ISO file. Next, point it towards the USB drive, which will be the bootable USB drive. Click on the Continue button again and wait till the bootable drive is ready. It might take around 20-25 minutes for it to become available.
Once the process is complete, notice that the name of the USB drive is now WININSTALL. Eject it, and you are ready to use it to recover or install Windows on any computer. That’s it. I find the process to be much faster, and handy when you do not have access to the Windows machine. Windows also offers a similar tool-Recovery Drive – that allows you to create a rescue disk in Windows. Make sure you always one next to your computer all the time. Read: How to create a Windows bootable USB on Linux.

